How We Approach Demolition in Older Twin Cities Bathroom Remodels
One of the first decisions we make on any remodel is how much demolition to perform — and it is a bigger decision than it looks. How much you tear out affects budget, schedule, subcontractor coordination, and how much certainty you have before rebuilding begins. Our goal is simple: expose what we need to expose to verify that the design and layout will work, without going beyond the scope of the contract or removing things unnecessarily. Every layer you remove gives you information, but it also adds time, cost, and risk.
Demolition is a decision, not a default
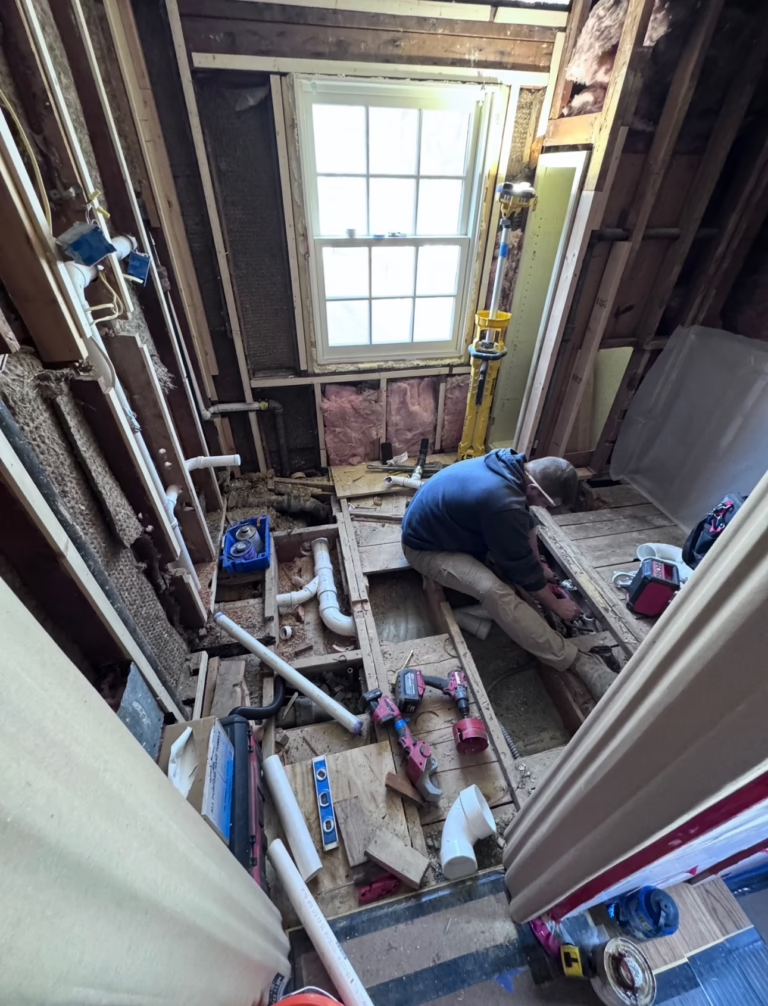
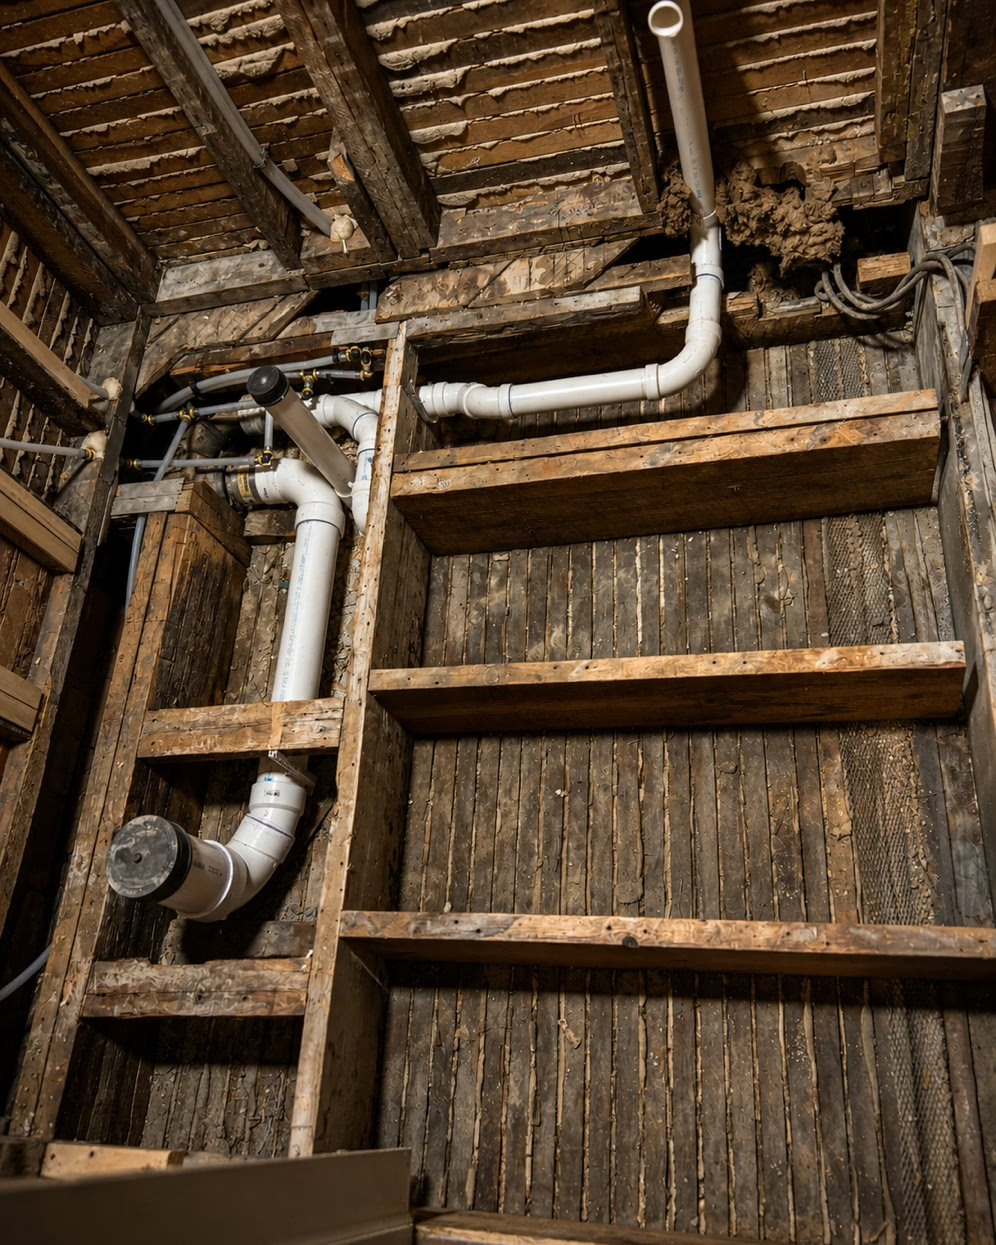
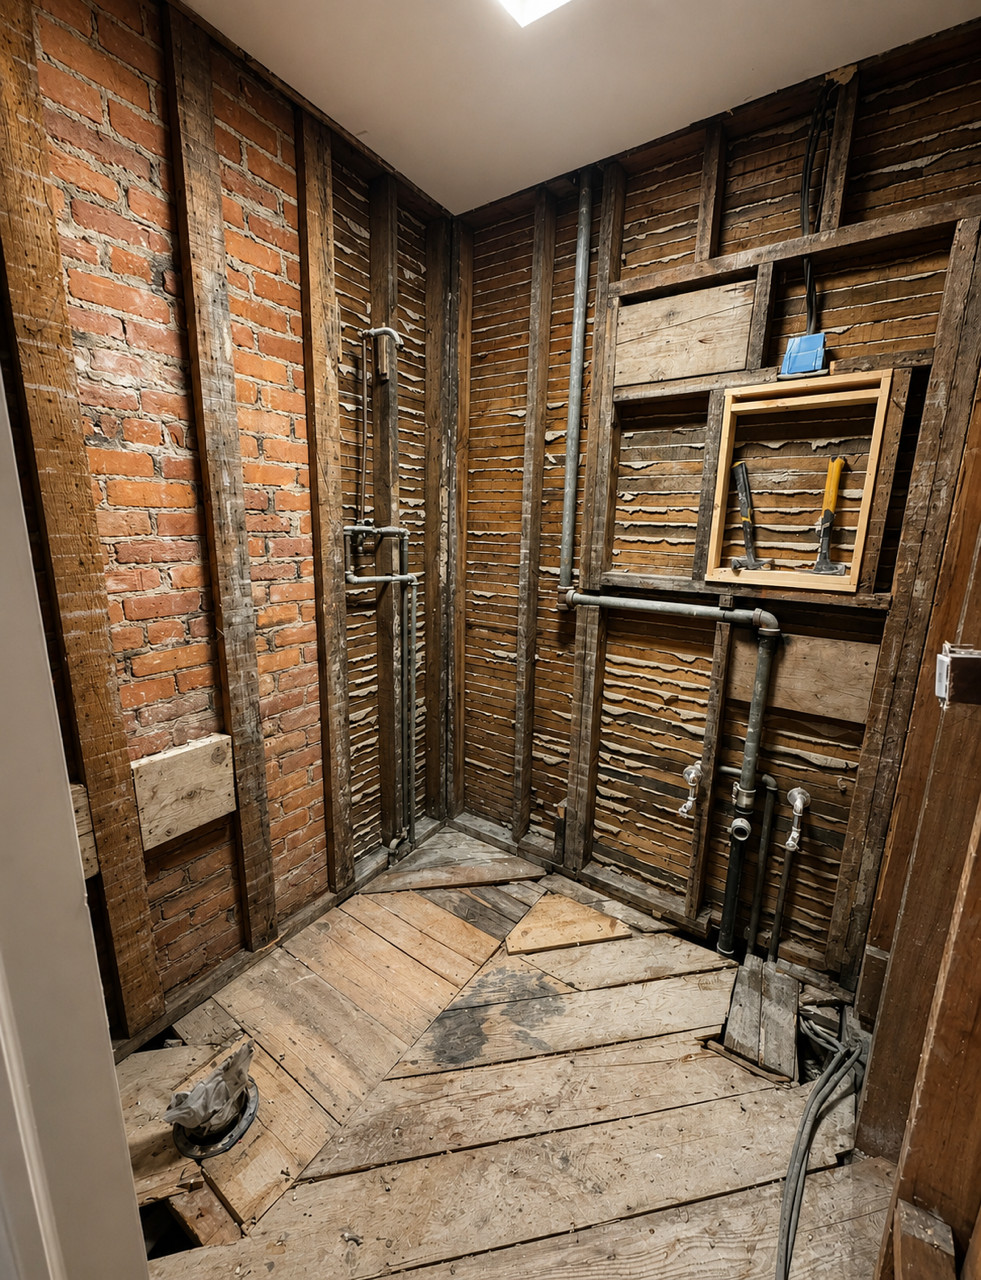
It is tempting to think of demo as rip everything out and start over. In an older home, that is rarely the right call. The goal is not to remove everything immediately, and it is not to preserve everything possible — it is to remove enough to understand what you are working with and create the conditions for a successful rebuild. On the small interior bathroom shown here, the floor plan was not changing, but we knew the walls had to come down: we were correcting plumbing drains and supply lines, rerouting electrical, adding blocking, and trying to gain every possible fraction of an inch in a tight room.
Taking the walls down to the studs — carefully
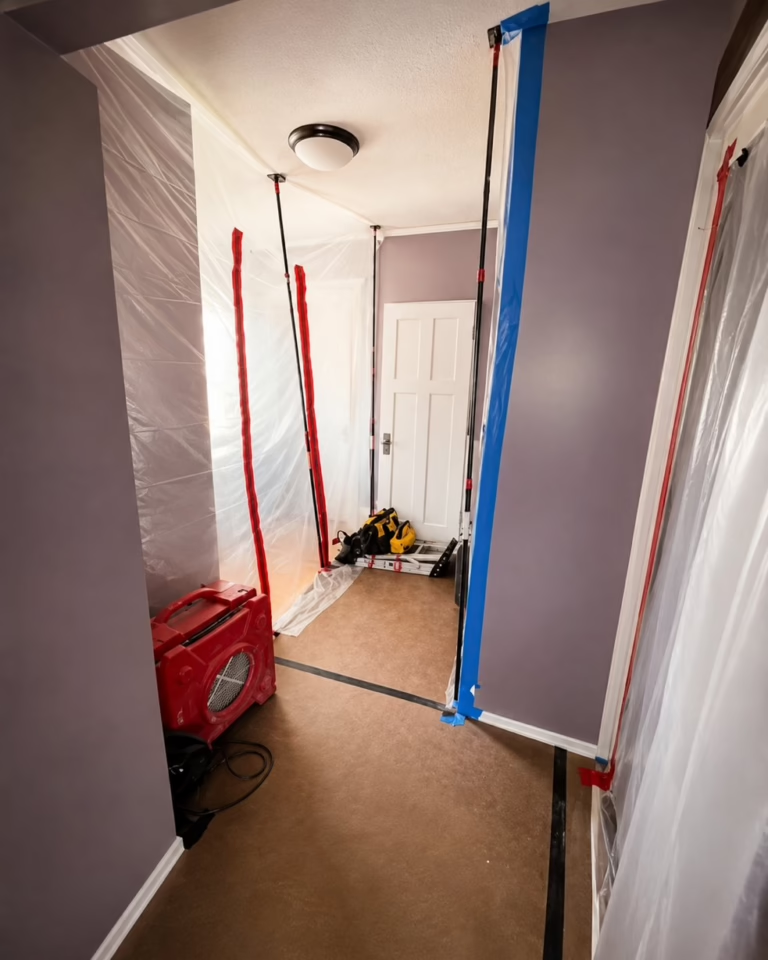
When you demolish lath-and-plaster walls, the finished wall on the opposite side is at risk. We avoid excessive prying that can flex the studs and transfer force through the wall. Instead, we typically cut and pull the lath toward us rather than prying it off the framing. In older homes, plaster may already be cracked from decades of settlement, and aggressive demolition can cause failure on the far side. Before and after we open a wall, we evaluate the adjacent finished spaces, because that is where the greatest risk of collateral damage lives.
Leaving the subfloor — and the galvanized lines — for the plumbers
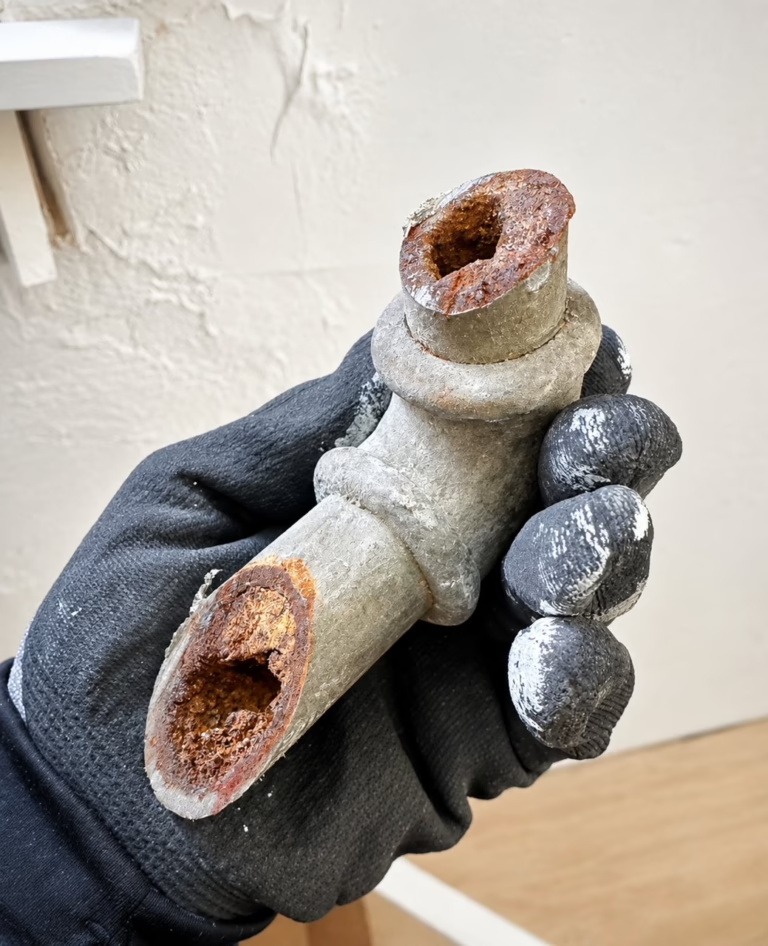
We usually leave the wood subfloor in place at first and let the plumbers remove only what they need. The existing floor is a safe working platform, and it is often easier for them to modify precisely than if we had torn it all out ahead of time. We take the same approach with galvanized water lines: we leave them for the plumbers, who have the right tools and know how much of the existing system needs to remain. PVC and copper are a different story — those we will often remove as needed during demo, since they are easier to cut back and may simply be in the way.
Evaluating the ceiling
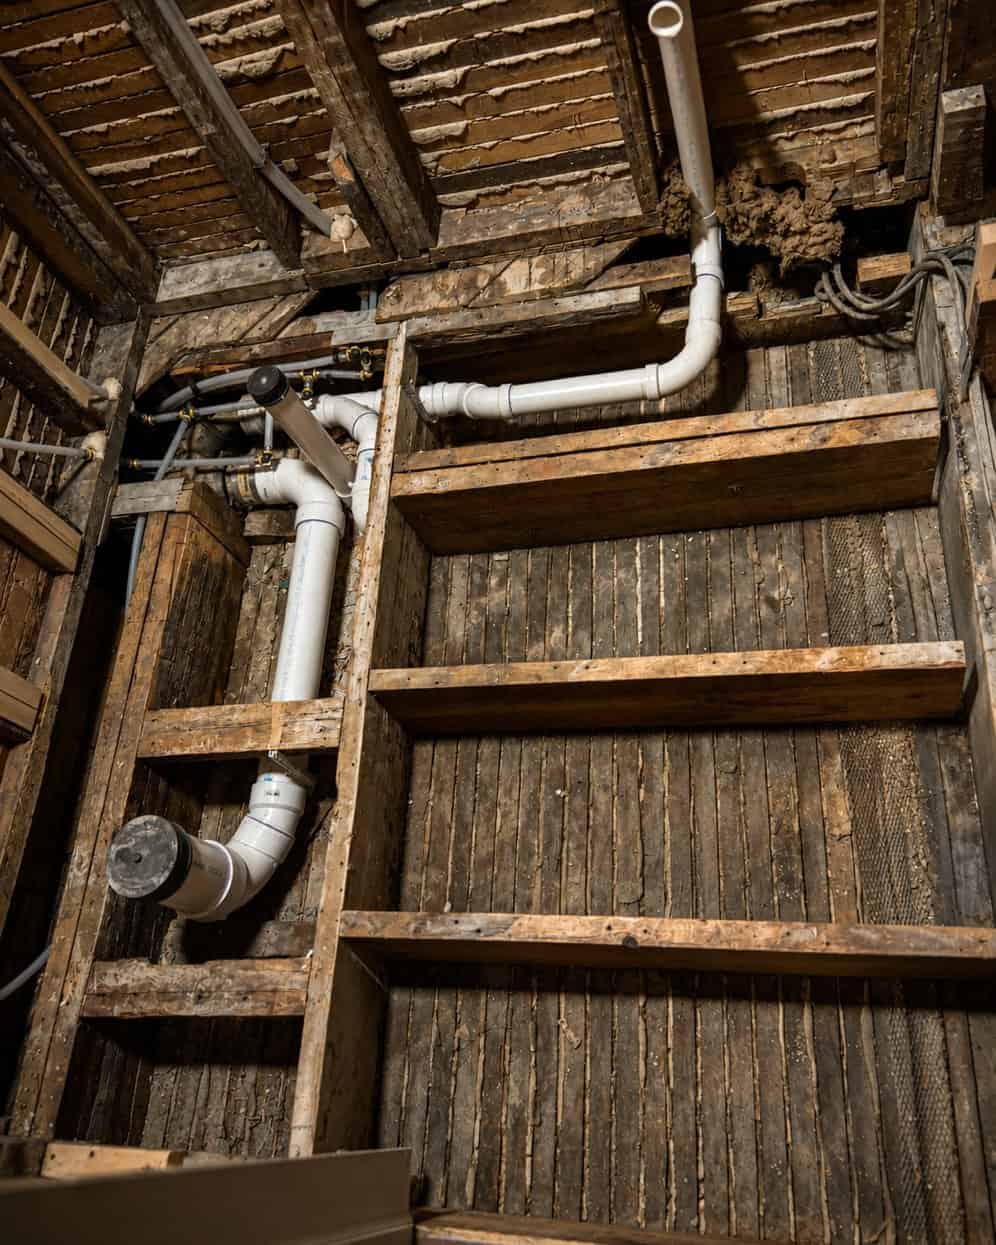
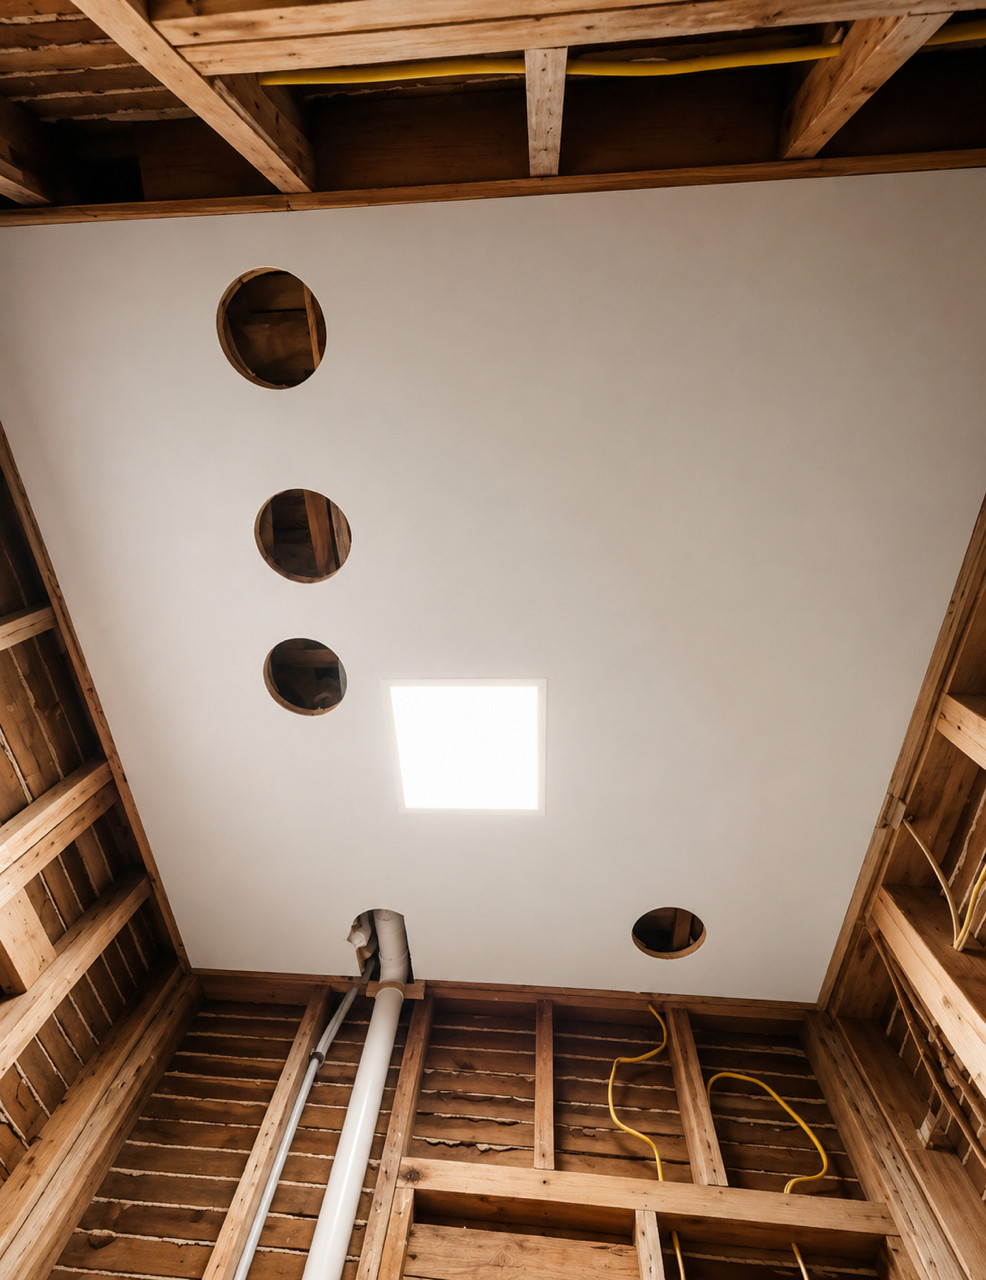
The ceiling gets its own evaluation. On this project there was accessible attic space above the bathroom and the existing ceiling showed no signs of water damage or failure, so we chose to leave it intact. Keeping a sound ceiling saves time and reduces both insulation disturbance and later drywall repair. The electricians did end up cutting several access openings to finish their work; once they were done, we overlaid the ceiling with new drywall for a clean finished surface.
Re-evaluating after rough-in
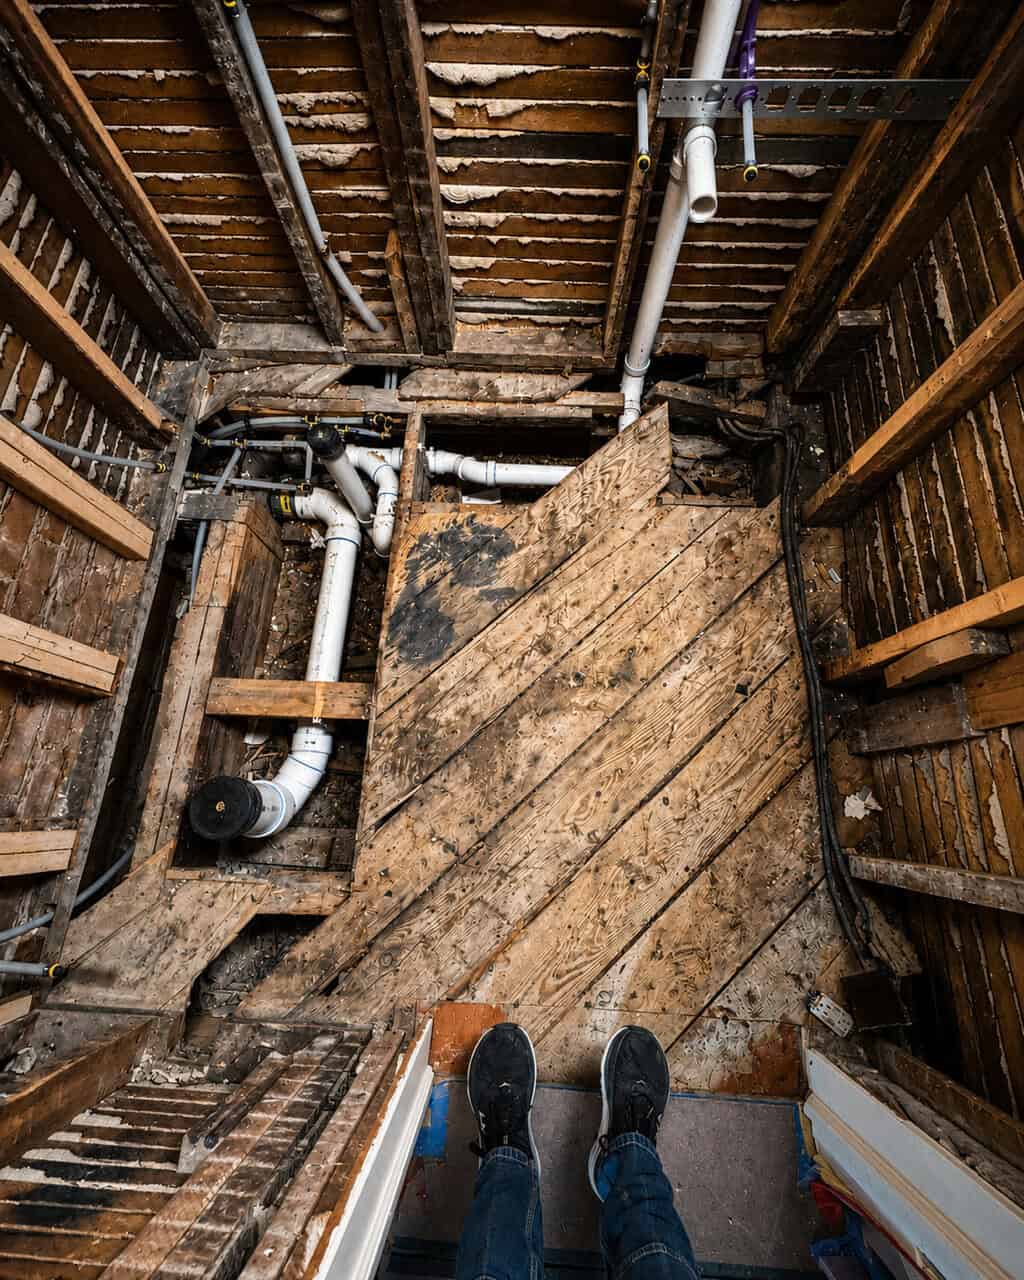
Demolition is not a single event — we revisit it as conditions are uncovered. After the subcontractors finished their rough-in, we looked again at the remaining subfloor. Roughly half had already been removed, and it was clear substantial leveling would be required. At that point it made sense to take out the rest so we could properly sister and shim the joists and create a flat, stable foundation for the new floor.
Our default starting point for most bathrooms
For most bathroom remodels, we find the best starting point is taking the walls down to the studs, leaving the wood subfloor for the plumbers initially, and preserving the ceiling if it is structurally sound and free of water damage. That gives us a clean slate where it matters most while keeping flexibility as hidden conditions come to light. A successful remodel starts long before the new finishes arrive — it starts with thoughtful demolition.
Frequently asked questions
How much should be demoed in a bathroom remodel? Enough to verify the design works and to complete the plumbing, electrical, and structural work — and no more. For most bathrooms that means walls to the studs, with the subfloor and ceiling evaluated case by case.
Why leave the subfloor in place at first? It is a safe working platform, and it lets the plumbers remove only what they actually need, which is usually more precise than tearing everything out up front.
Why leave galvanized water lines for the plumber? They have the right tools and can judge how much of the existing system needs to stay as they open up the walls and floor.
Can demolition damage the rest of the house? It can if it is done carelessly. In older homes with lath and plaster, the biggest risk is to finished walls on the opposite side, which is why we cut and pull lath toward us and check adjacent spaces before and after.