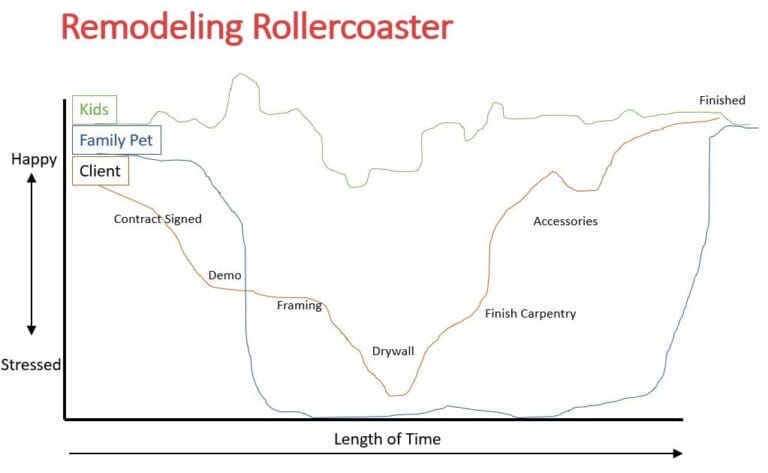
A Basement Bathroom Refresh, a 25-Foot Ceiling Repair, and One Very Curious Cat
Every so often a project comes along that doesn’t fit our usual mold of a kitchen or a full bathroom remodel — and the Little family’s home was exactly that kind of job. It’s a 1930s house here in the Twin Cities, and what started as a basement bathroom refresh grew into a handful of repairs all over the home: a sagging bedroom ceiling, some exterior siding, and the inside of the garage. It turned out to be one of the more satisfying projects we’ve taken on this spring. Megan, our main point of contact, was lovely from the very beginning, and working through all the details with her and her family made it genuinely fun.
A basement bathroom refresh — not a remodel
The bathroom itself was pretty straightforward, because a refresh is a different animal from a full remodel: we weren’t moving anything, so this was about bringing the existing room back to life rather than tearing it apart.

One detail I’m proud of is the tub. It was staying, so rather than replace it we polished it up until it looked brand new the day we left. We also took the chance to reorganize the utilities running through the ceiling so we could gain back as much height as possible once we drywalled it — it had been a drop ceiling before, and drywalling over it made the whole space feel taller and more finished.
My favorite part: the family’s daughter is really interested in design, so she got to pick the tile for the bathroom and stayed involved through the whole process. (She’s also a fellow Taylor Swift fan, so we got along just fine.) It’s always a joy to bring kids into the work in whatever way I can.
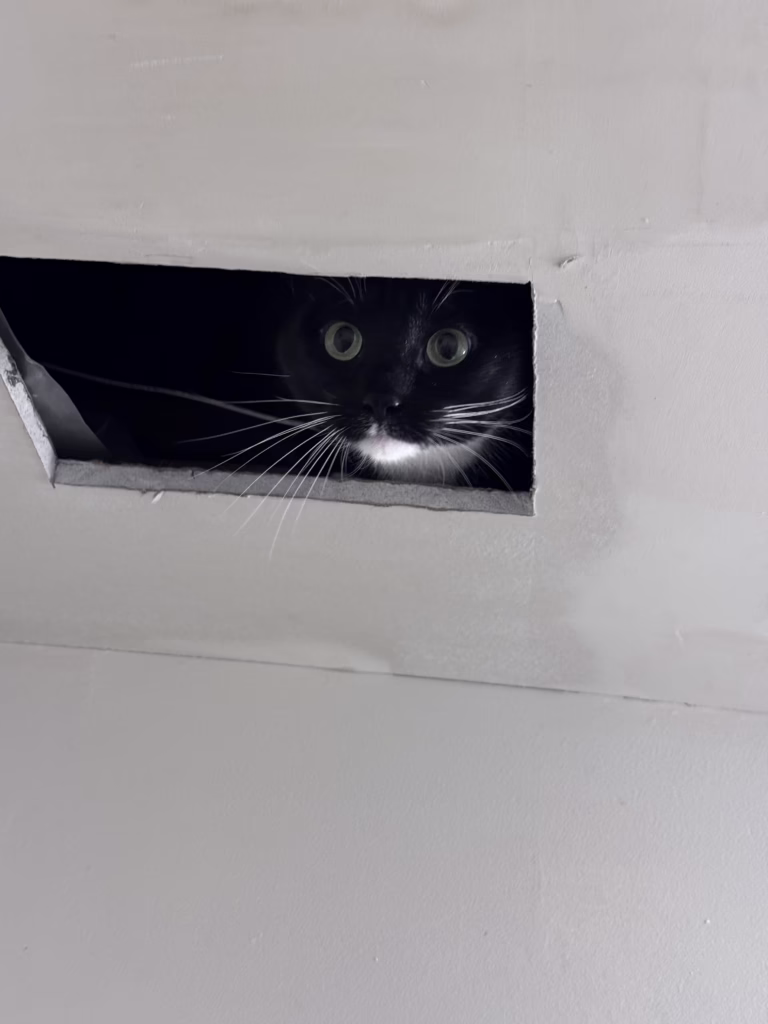
We had some help from a very curious supervisor
Cats usually hide from us the entire time we’re in a home. Not this one. The family’s cat, Mittens, decided the project was far too interesting to miss, and he took to crawling around in the open joist space and poking his head out to watch us work. Every so often I’d glance up and there he’d be, staring down at me.
Straightening a 25-foot sagging ceiling
The repair in the master bedroom was the most involved part of the whole project. The ceiling had a sag of almost three inches right through the middle — and once we got up into the attic, we could see why. The home has hand-cut, hand-framed trusses, and over the years three of them had been compromised, with several of the members separating. We were essentially looking at a run of two-by-four spanning close to 25 feet that had bowed that far out of line.
To fix it, we jacked the ceiling back up, sistered in new two-by-fours, added more webbing, and attached new pieces up in the attic to pull most of the sag out. The catch is that the original two-by-fours on the existing trusses couldn’t be fully removed without causing more damage and compromising the roof — and they still wanted to spring back to their bent shape. So we braced them heavily to hold them as straight as we could. There’s still about an inch of sag left in the ceiling, but it’s not something you’d ever notice looking up at it.
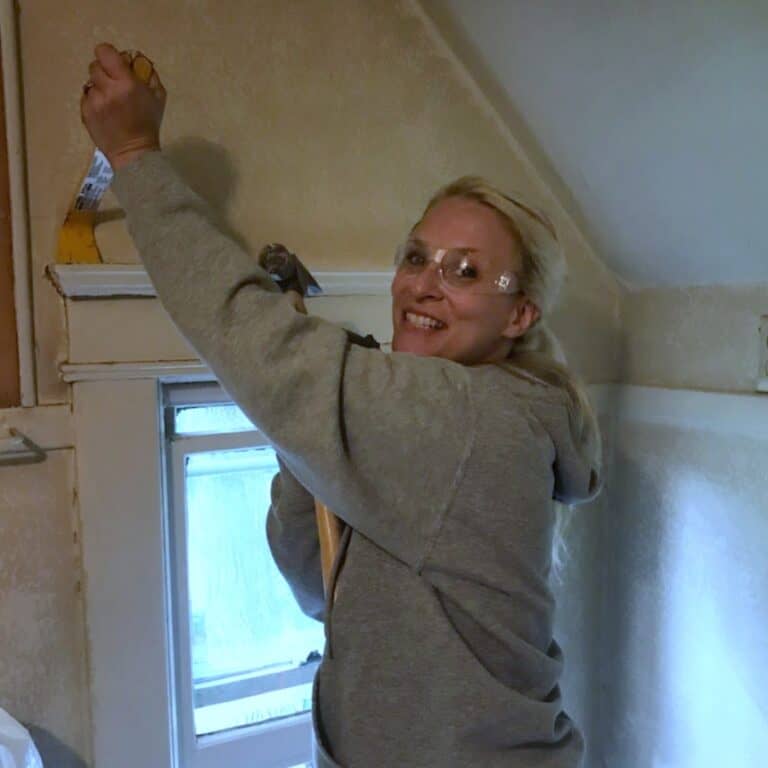
I’ll be honest, it was a hot, itchy attic to work in. It had fresh blown-in insulation that we had to shovel out of the way and then put back, and getting all of it plus the new lumber into exactly the right spots took some leverage (and earned me a few bruises from leaning out to drive screws into the framing). Fortunately we hit one of the first warm days of the Minnesota spring for it. A new drywall overlay, fresh paint, and a couple of replaced light fixtures finished the room off.
Protecting the whole house before we started
Because the bathroom was down in the basement and the bedroom was at the far end of the upstairs hallway, the first real task was protecting the entire path through the home.

We protected the front entryway, the route down to the basement, and the run up to the master bedroom — lots of zip doors, rigid foam to guard the walls, and carpet shield, hardboard, and ram board across the floors. We do this on purpose, and we don’t rush it. Taking the time to protect a home lets every worker on site move quickly and efficiently, and it keeps the areas outside our actual work scope safe from accidental damage. It’s one of those steps that never shows up in the finished photos but makes the whole job go better.
The garage, the siding, and a few smart fixes
The garage was an interesting one. The walls were finished in an early form of drywall — I believe it’s a product called Diamondboard — and over the decades it had absorbed moisture, failed, and started flaking. We pulled all of it out, and before hanging new drywall we fully insulated the wall shared with the house. That wall had been missing insulation, which meant the unheated garage was feeding cold straight into the home. New drywall, a fresh coat of paint, and that space was done.
We also installed a new garage door opener — the kind with a pivoting camera — and it’s so much quieter than their old one. While he was at it, our garage-door subcontractor, who we’ve worked with for years, noticed that a support bar the door is supposed to have was missing. We weren’t replacing the door, just the opener, so we added the bar to help stabilize it and keep it running well for years to come.
Outside, one section of siding had taken on some water damage — nothing dramatic, just the kind of thing a 1930s home accumulates over time with a little deferred maintenance. We replaced the affected pieces, resealed them, and painted to match.
A different kind of project, and a really good one
A basement bath refresh with a list of repairs around it isn’t our typical job, but the combined scope added up to a full and rewarding project — and the Littles were a joy to work with from start to finish: easy to communicate with, genuinely engaged in the details, and happy to let their design-loving daughter (and Mittens) be part of the process. Those are the projects we love most.